As I got closer to finishing the piano stool, my mind started to wander to my next project. Eventually, moaning vocally to enough people paid off and I was offered a maternity chair by a friend in my dance class. I’d never heard of a maternity chair before and when I first saw it I actually laughed out loud. It is so tiny! I can’t imagine any pregnant woman managing to get into the chair, and if she did, would definitely never get out again. Apparently it’s from days gone by when people had nurseries and nannies. The chair was for the nanny to sit in so that she was at the same level as the children.
This maternity chair has originally belonged to my friend’s grandmother and had a very dated removable cover on top of a similarly dated green velvet fabric. I was not good at taking progress shots at this point, but look at the way the red underlayer pokes out under the top fabric. It also had floating buttons on it but I chose not to add this back later.
I stripped the chair down the frame, finding belts in some places instead of of webbing. I really enjoy this part of the process as you find so much out about the history of a piece of furniture. Once I had a bare frame, I applied varnish stripping fluid to the legs and found the original wood colour was a really warm reddish colour. The supporting rails were quite loose but I was able to glue them down.
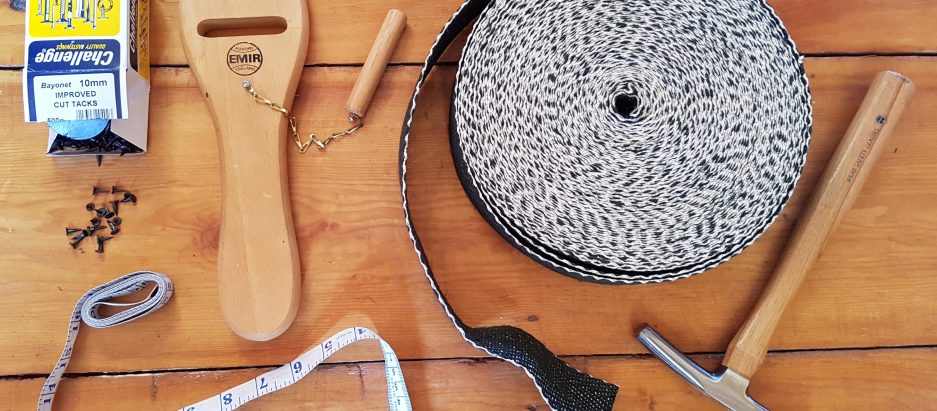
The basic starting work for this chair was much the same as the piano stool. The new skill I picked up with this was webbing stretching. You generally want to use as much as webbing as possible, starting an inch in from the end of the frame, and then filling in as many rows as possible in between. After that, the hessian goes on like normal and then the bridal ties and coir stuffing. In this case the bridle ties go down in straight lines rather than round in circles.
After the coir, the cotton felt goes on top, with an extra strip in the middle to ensure the padding doesn’t sag with use. The calico next was one of the most painful parts with this chair! As you can see from the next picture, the curve of the chair means the calico wrinkles a lot on the middle. To get rid of the wrinkles, you make little cuts along the edge, pulling, tacking, retacking, until all of the wrinkles have gone. After that, I added pleats around the top corner to keep the calico smooth.
Just after my finger tips recovered from the calico stretching, I had to do it all over again for the top fabric! Laura had chosen a beautiful tulip print linen from Laura Ashley and I was really looking to working with it. I repeated the process with this cover the front of the chair, adding little cuts, pulling, tacking over and over until I was happy with the lack of wrinkles.
Next came piping. I have read that you can get 5m of piping out if half a metre of fabric. This was lucky because Laura Ashley fabric is expensive and I didn’t have very much spare at all. You cut two inch width strips on the diagonal, and then use a piping foot to stitch around piping cord on a sewing machine. I don’t think I’d used a sewing machine since I made a stuffed rabbit in Year 8, so I was pretty pleased with the results!
Once I had the piping, I could do the sides of the chair. I had already cut out the shapes, using drafting paper to make a stencil. First, I pinned the side panel on with the edges folded under themselves The side closest to the frame gets tacked on like normal. Then I went back and pinned the piping in between the chair and the fabric. Because the piping fabric is cut on the bias (Mrs Taylor would be proud of me for remembering that term!), it follows the curve of the chair easily. I stitched the whole thing in place using ladder or slip stitch. It’s so satisfying to see the shape of the chair come together so quickly.
On the final stretch, I attached the panel of the chair. I used a material called backtacking, a thick cardboard strip. I placed the top fabric, upside down, then calico, then backtacking on the top so that once you pull everything back over the chair, you have a clean, straight line along the top. Then the calico gets tacked down tightly, and the top fabric gets ladder stitched down like the side panels.
The last job is to fit the dust sheet to the bottom. It’s the only place tacks are visible so I tried very carefully to keep the calico tight, the tacks lined up, and my corner cuts neat. I’m still annoyed with the one little crease by the front right leg! I was so desperate to finished that it was done late at night so apologies to my neighbours for the racket and for the lighting in the photo!

The maternity chair now lives back at my friends house in her gorgeously refurbished dining room. I still look at the chair and laugh at how anyone other than a child could use it but I’m very proud of the finished product none the less.


