Having successfully finished the duet stool for Rachael, I moved on to my second upholstered wedding present of the year. This time I wanted to cover a little bedroom chair so I started scouring eBay.
Eventually I found this:

It was in beautiful condition although quite dated. As I started taking the layers off, I realised it was much more modern than its style implied and it was FULL of tiny staples.

In retrospect I could have left the lower layers on and if I’d been in rush to finish then maybe I would have done but seeing as this wedding isn’t until April 2018, I had time to do things properly.
I used some noxious varnish removing goop to dissolve the very dark, thick varnish that made the chair look so dated. Then I gave it a quick sand and painted it using a Farrow and Ball tester pot. I had already found the perfect fabric at my favourite fabric shop so I knew the wood needed to be a neutral white. I didn’t wax the paint at this point because I wanted to have the option of touching up the paint if it got damaged during the upholstery process.


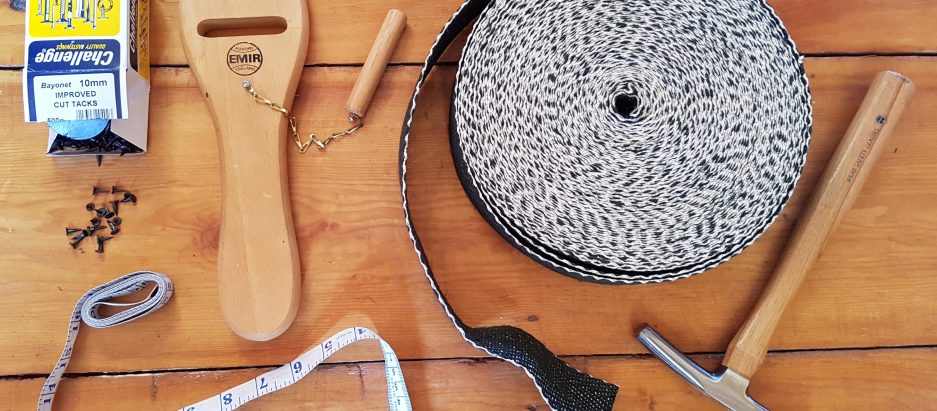
The rails on the chair are designed for staples and as such are too thin to use tacks during the reupholstery process. My old stapler doesn’t have a huge amount of power and it soon became clear when I tried to web the base that it wasn’t good enough. Everything I pulled on the webbing to get a decent amount of tension, it just flew off the frame. I was nervous to buy a new one too quickly as they can cost quite a bit and still not be up to the challenge. I knew I wanted my new one to have a nose so I could aim the staples accurately, and enough power to avoid having to use a hammer to make sure the staples are fully in. I settled on the Bosch PTK 3,6 LI which is an entry level tacker. I has the added bonus of being battery operated so I don’t have to work near a power socket.
Once the new stapler had arrived, the project started gaining a good pace. I only replaced the webbing where it had been before. There is room on the frame for more but as it is a small seat that is not going to see a lot of use, I didn’t see the point in adding trauma to the frame for unnecessary webbing. I then added hessian and coir like normal. Again, I chose not to add another layer in the usual stuff over style as the frame is small and I thought it would make the whole thing look out of proportion.


I still used tacks when I got to the calico stage as the tension needs time to even out, and tacks are reusable and staples aren’t. I may also have done the back of the upper portion of the chair first out of excitement over my new stapler..
Again, as the frame is small, I wanted to keep the padding on the back in proportion. I gave the front a layer of calico and then sewed some 4oz wadding on top. I then covered it with top fabric but I was unhappy with the placement. I pondered taking it off but eventually decided to sew on three more layers of wadding to avoid any pattern showing through and give a little more shape to the pad. Then I tried more successfully to position the pattern the second time around.


I covered the back in one go, and then replaced the tacks with staples on the calico and covered the seat pad in top fabric as well. To finish off the chair, I didn’t want to use braiding. I felt like it was too much for a little chair so I settled on piping instead. I’ll post a separate blog entry on how I got on making some double piping for the first time. The great thing about double piping is that it can be treated like braiding and be glued on rather than sewn. The piping fabric was a lovely soft blue that gave a nice change in texture to the silky top fabric. I eventually got this project pretty much complete over two weekends which I was really pleased about. It was lovely and sunny when I did finish and I think for a bedroom chair, it looks great in the sunshine!


I also added a couple of business cards into the chair before I added the bottom cover to the pad. I like to know that one day, hopefully far into the future, someone will take this apart and know the history of the piece, the people it was made for and when they said I do.